We have been trying Azure Information Protection (AIP) here at Kraft Kennedy. Here is a glimpse of how it actually works from the administrator’s point of view.
How to Use AIP
Once you have AIP working, you can either manually apply classifications to email and documents, or build rules to automatically apply classifications. While the rules can be helpful for protecting content (emails/documents) that have, for example, social security numbers, educating your users on how, when, and why to manually apply classifications makes more sense.
The email or file will have the security embedded in it. Certain types of files natively support AIP, while others will be encapsulated into a new file type (for example, .txt will become .ptxt). The security requires authentication to the account that was granted access. Any Microsoft account (Office 365, Live.com, Outlook.com), Google account, or Yahoo account can be used on the security list.
Here is a screen shot of a protected email I sent:
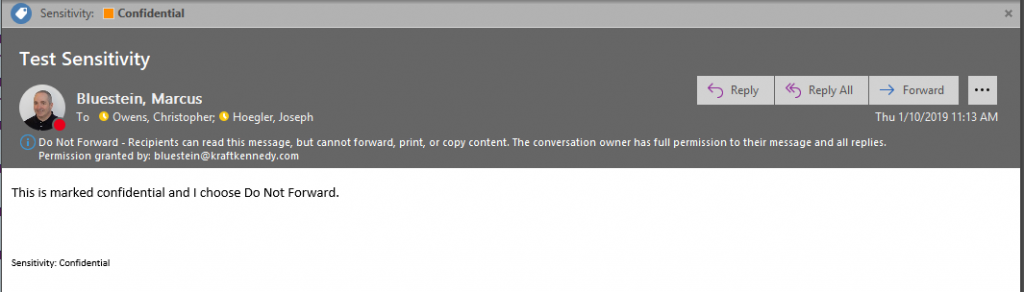
You can see the classification at the top is Confidential. And it shows that I added the “Do Not Forward” option.
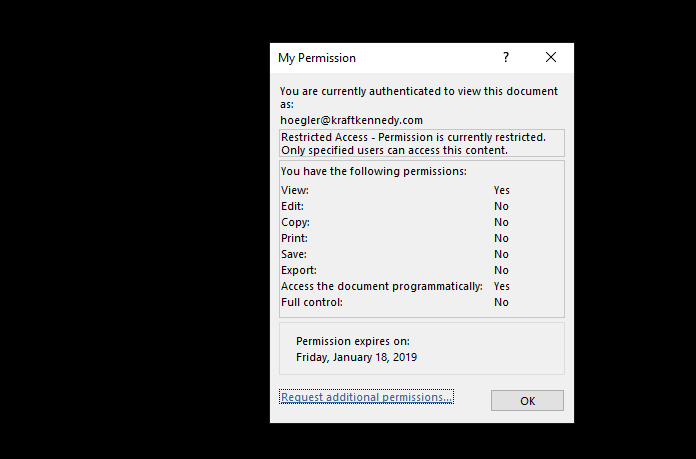
This screen shot is from one of the recipients showing the permissions he has to the file. What is most interesting is that with a restricted access file, you can’t screen shot or snip the document. You can see the black around the My Permissions dialog box. That is where the document is on the users screen, but it is blacked out during the screen copy automatically.
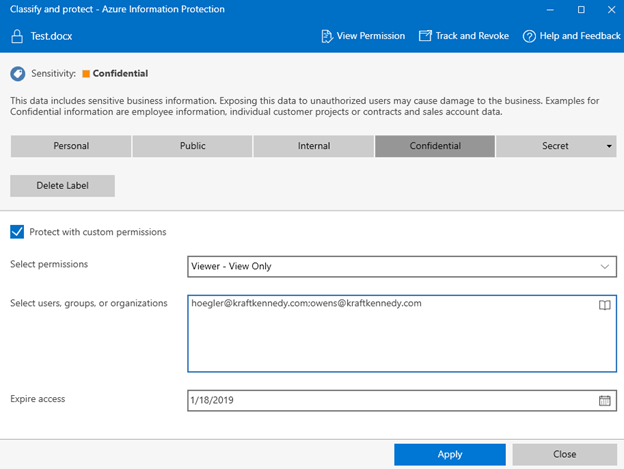
Here are the AIP settings for the file I shared above:
The mobile experience is also good. If you open a secure email in native IOS Mail, you will be presented with an option to click a link that will open the contents in a web page. You can’t see the secure contents in IOS Mail, or any mail client that doesn’t natively integrate with AIP. If you run Outlook on IOS or Android, you natively support AIP. The same holds true with Word, Excel, and PowerPoint.
If you want to test out the experience, I have set up a Microsoft Flow to allow you to get a copy of the secure file and to add/remove yourself from the security list. Click on this link to send me an email with the subject TestAIP and my Flow rule will send you the document. Your experience will be that of a user without permissions to the document. If you would then like to experience what happens if you do have permissions , click this link to send me an email and add your email address to the security list.
Part 3 of this article will focus on some of my setup tips for AIP.