*** This process has become more complex with the release of iOS 9.3 and now requires a computer and a Gmail account to complete***
By default, the iPhone sends email using plain-text format, which does not support images (thus no images in signatures).
Below are the steps to add an image to your email signature on an iPhone 6 (iOS 9.3.5). By doing this you will change the email from a plain-text to an HTML-based email that supports images.
On your computer: Sign in to your Google Account or click here if you need to create one (and then sign in).
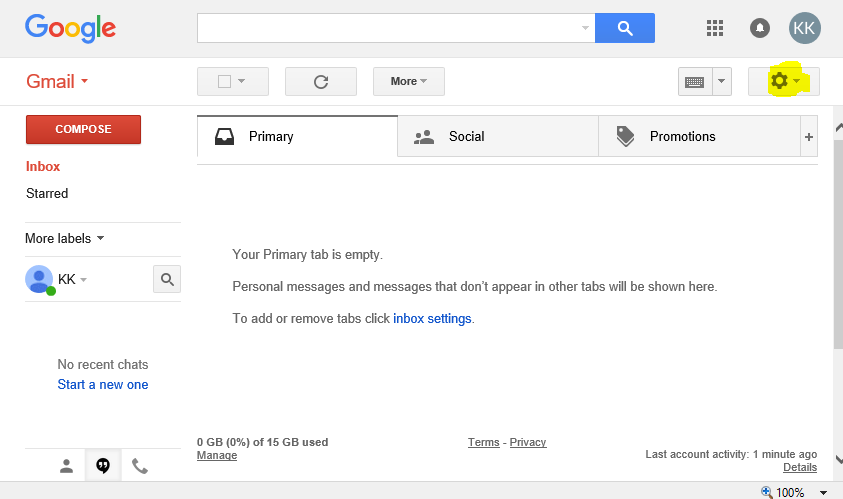
Click the Gear in the upper-right hand corner.
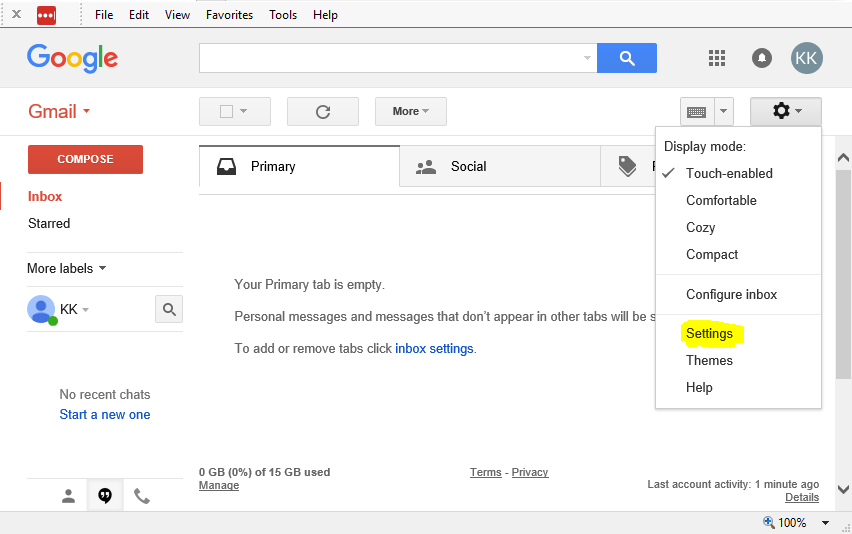
Click the ‘Settings’ link.
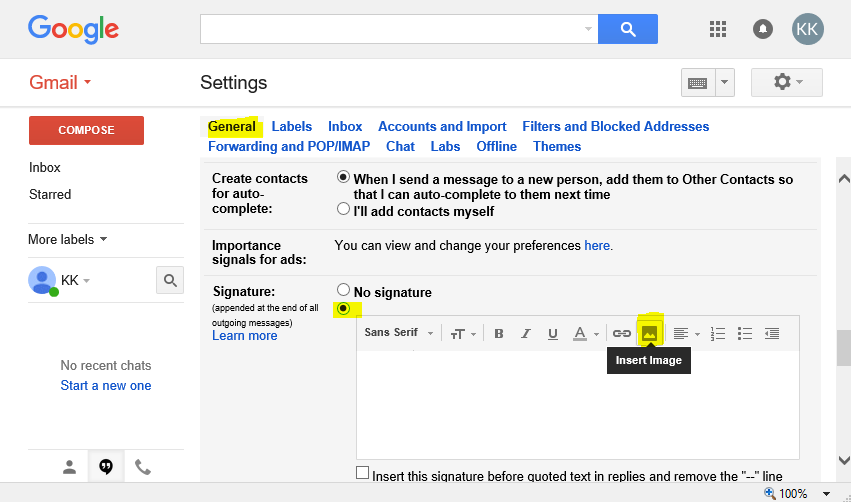
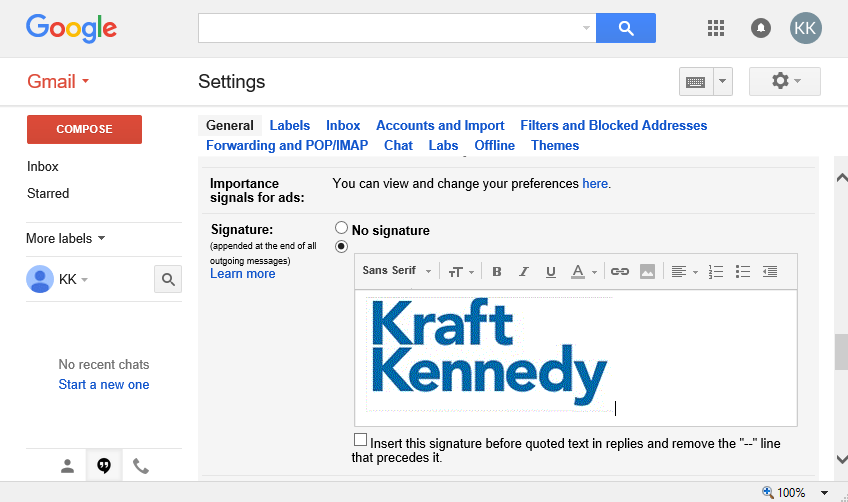
On the ‘General’ tab scroll down to the ‘Signature’ section. Click the Signature bubble and then click the ‘Insert Image.’
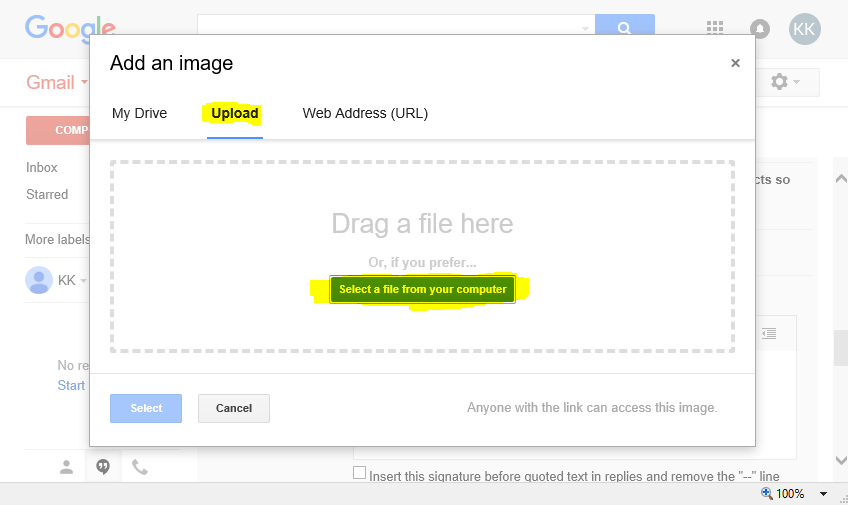
Choose ‘Upload.’ Then either drag a copy of the picture you would like to use into the window or choose ‘Select a file from your computer.’
The file will upload.

Once the upload is complete, you will see the image in your Gmail signature.
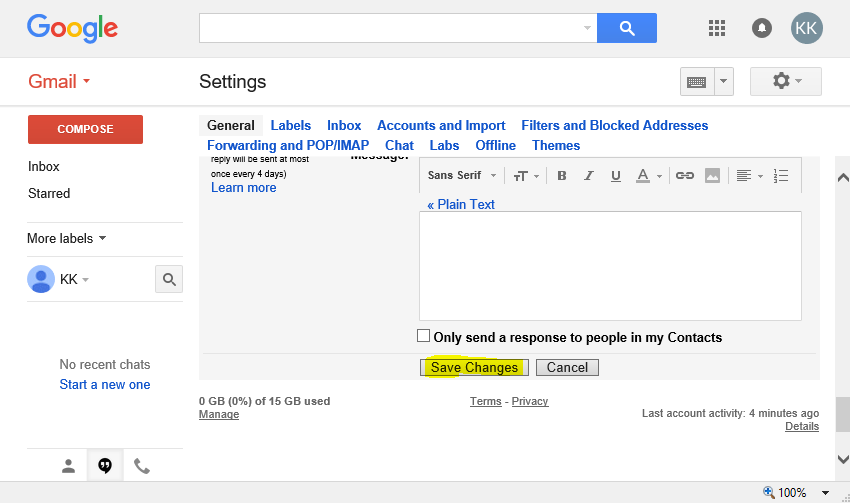
Scroll to the bottom of the page and click ‘Save Changes.’
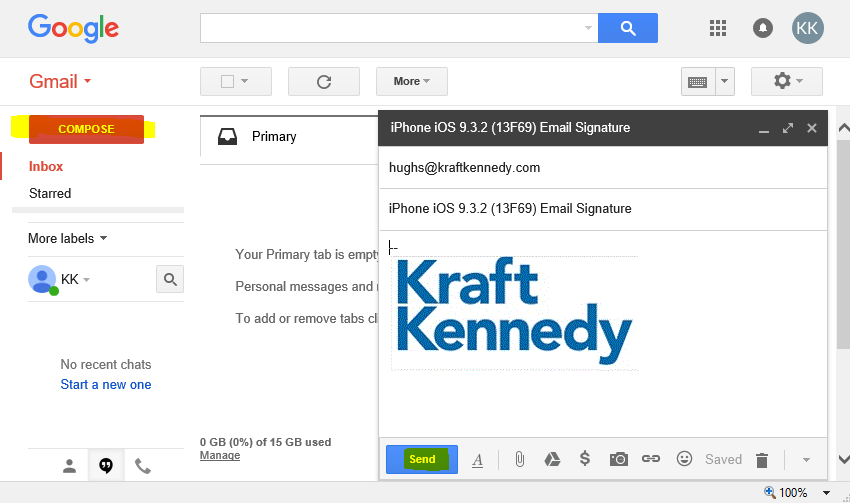
Now that you have added an image to your Gmail signature: click the ‘Compose’ button, then send an email to your corporate email address.
On your iPhone: Open the e-mail that you sent yourself.
This is where things get tricky…
Double click on the bottom right-hand corner of the signature (just to the side of the image). You will know that this has worked when the image is highlighted with a ‘Copy | Select All’ bubble above it.

Click ‘Copy’
Note: This will only work if the ‘Copy | Select All’ bubble appears above the signature.
–If the iPhone zooms in to the image, it did not work – you will need to double click again to zoom out.
–The ‘Copy | Save’ bubble that may appear if you leave your finger on the image too long. If this happens, click outside of the bubbles and try again.
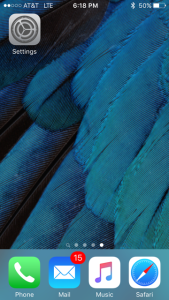
Push the home button on your iPhone.

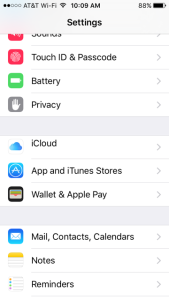
Open ‘Settings.’
Click on ‘Mail, Contacts, Calendars.’
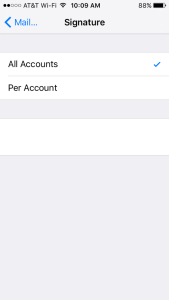
Click ‘Signature.’

Select which mail account you want to add a signature to, or select ‘All Accounts.’
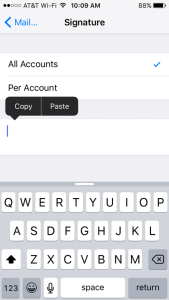
Hold your finger down in the blank Signature space, click ‘Paste.’
(Now comes another tricky part.)
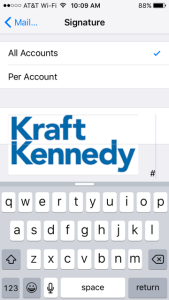
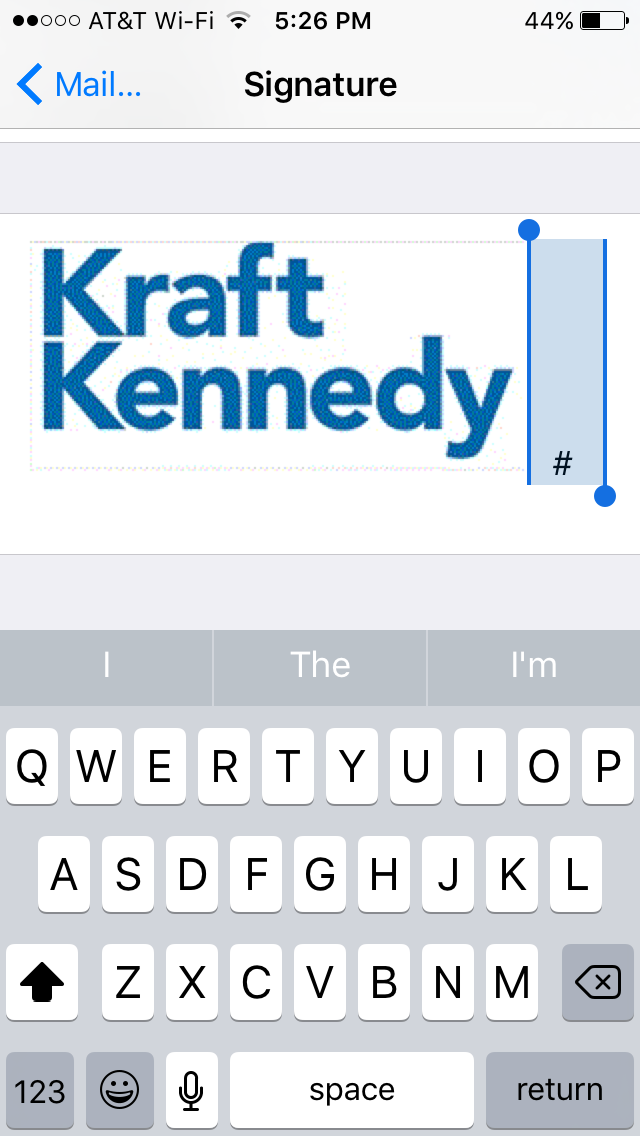
Press to the right hand side of the image, and then type a few spaces on the keyboard. This will create white space.
Note: You now need to add some sort of text to this selection. In this example we are using a # symbol. Alternate options may be your name or phone number.
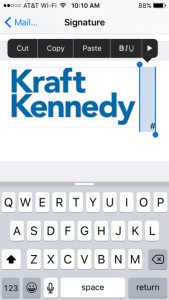
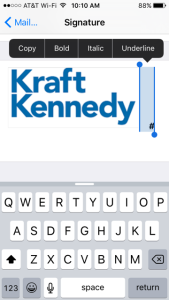
Hold down your finger over the white space and the # to select it. Once it is selected, click the ‘B I U‘ button. (A character such as # is required to be ‘Bold’. You can no longer simply ‘bold the white space’ as you could in previous iOS versions).
Now press the ‘Bold’ button.
(And one final ‘trick’)
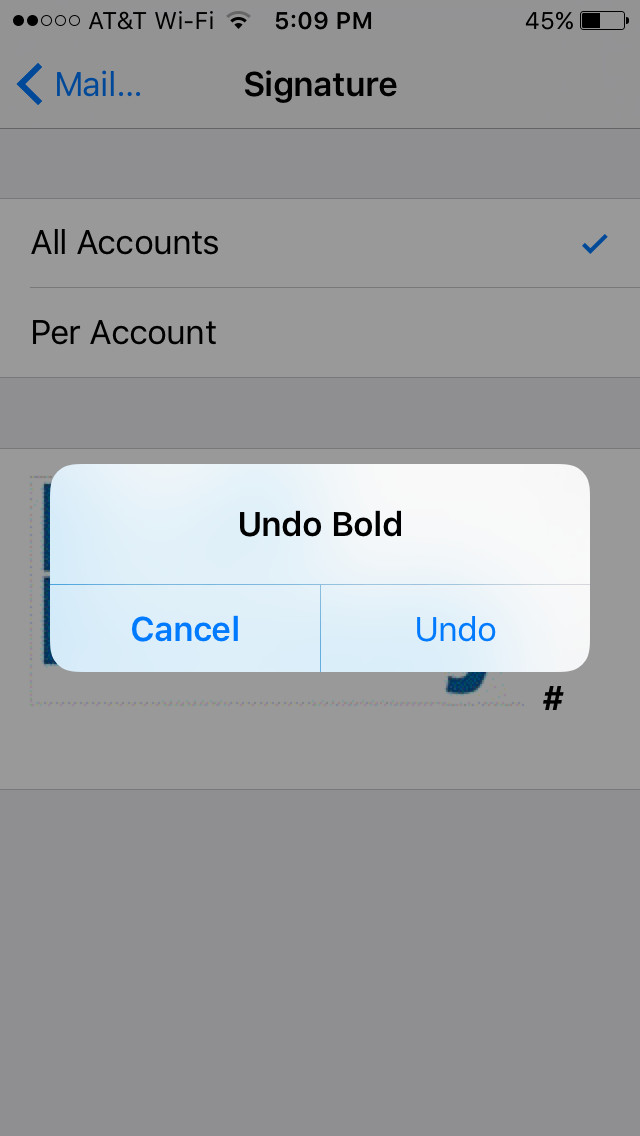
Now that the text is bold, shake your phone vigorously. When you stop, you should see a screen that says ‘Undo Bold.’
Tap ‘Undo.’
Once the ‘Undo’ has been completed, simply click ”Mail…’ at the top left of the screen.
That’s it! When you create a new email (from the Account you selected in step #17) your signature will appear.